Product Search
Solution Search
Searchable by product name, product model or standard.
*To search by solution, switch to “solution search.”
i.e., Load Cells, ZTA-50N, 7864 (for ISO 7864)
Searchable by you force type, industry, standard or product sample.
*To search by product, switch to “product search.”
i.e., Compression, 7864 (for ISO 7864)
SEARCH

Daily Inspection
Daily Inspection
- Force Measurement IMADA
- SERVICE & SUPPORT
- Daily Inspection
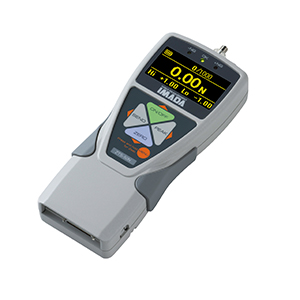
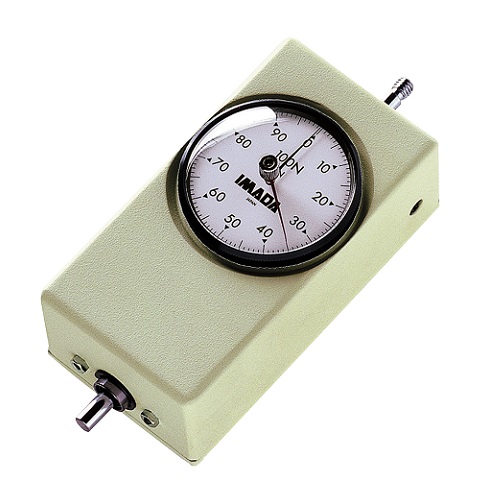
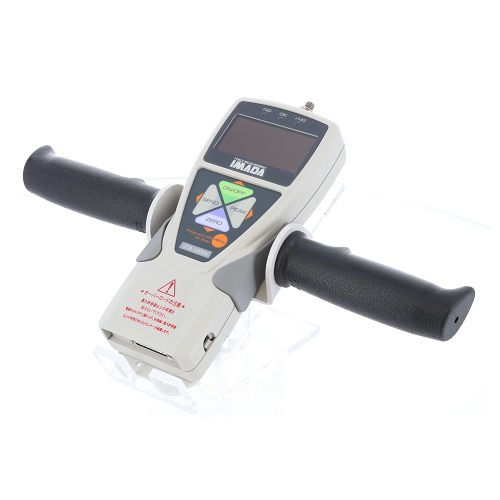
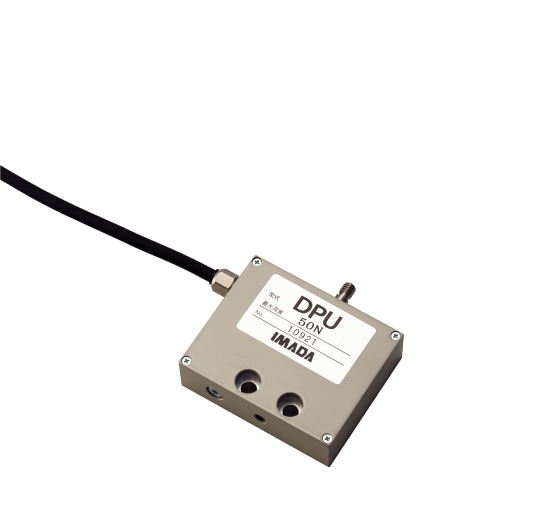
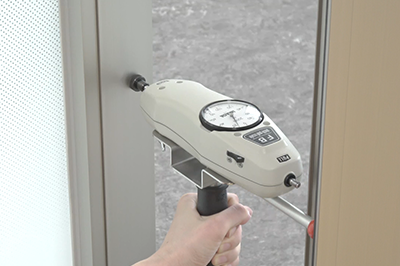
Daily inspection of force gauges
For long-term use of force gauges, IMADA recommends daily inspection of force gauges.
1. Check the displayed value
For all measuring instruments, including force gauges, accurate display value is essential. The accuracy of the display values is confirmed by comparing the relationship between the display value of the standard instrument and the value of the measuring instrument, and this is called the calibration procedure. Regular calibration and accuracy adjustment is essential to maintain the measurement accuracy of the instrument.
A force gauge calibration checks whether the measuring instrument's displayed value is within the tolerance range when a constant load is applied accurately. However, accurately applying constant load is complex and requires sophisticated tasks and investment in equipment installation. Therefore, it is not easy to set up a calibration system individually, and in most cases, the manufacturers of the measuring instruments or the specialized calibration organizations perform the calibration. About IMADA’s Calibration Service>
Regular periodical full-scale calibration by the calibration specialists is essential. Additionally, there are means to perform basic calibration in-house. This helps users detect issues and irregularities immediately and positively affects risk management, such as quality control. IMADA recommends the following 2 in-house calibrations: A) Calibration with the Tabletop Calibration Unit, B) Calibration with a Calibration Stand
A) Calibration method using the Tabletop Force Gauge Calibration Unit
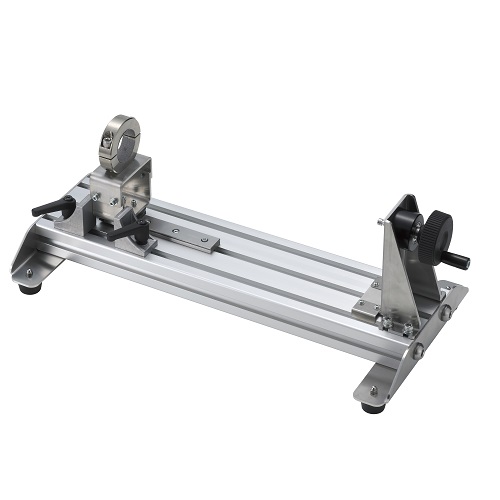
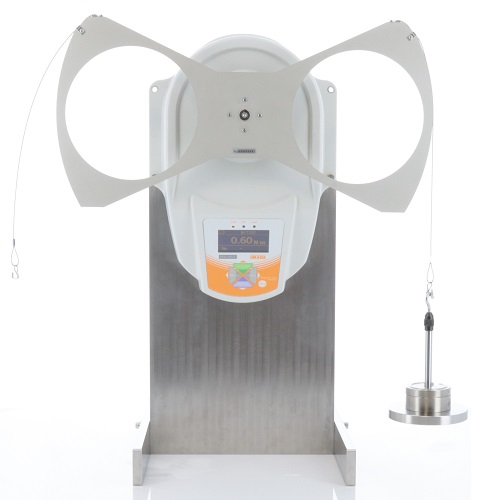
The method with IMADA's Tabletop Force Gauge Calibration Unit TFCU series and a force gauge with reliable accuracy is used as a standard to compare the force gauge value to be calibrated. The measuring shafts of two force gauges are pressed against or pulled to check for noticeable measurement value differences. Calculation based on the value displayed and the specification accuracy enables the understanding of the current accuracy range of the measuring instrument. Additionally, recording the daily calibration results helps to locate the noticeable change in the measurement values, which helps with early problem detection.
- Less expensive and space-saving compared to calibration methods using a calibration stand and weights
- Easy to operate, and no special training is required
- Periodic calibration service for standard force gauges is also provided by IMADA
Free 6-page PDF document available with “the in-house calibration procedures with TFCU Series”, “Additional daily inspection hints”, and “Points to help avoid failures and malfunctions”. Please request from the link below: -
Request Docs[Tensile calibration of force gauges using the Tabletop Force Gauge Calibration Unit]
B) Calibration method using a Calibration Stand, Calibration Plates, and Weights
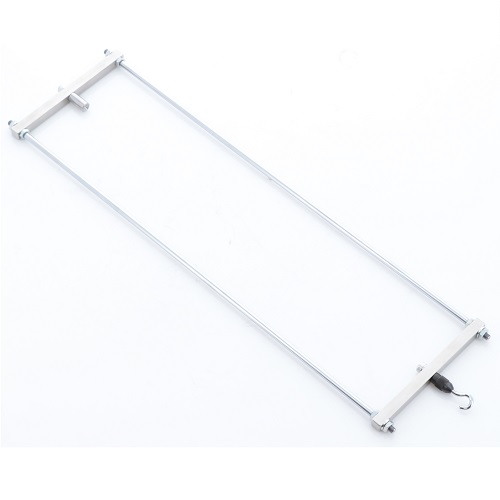
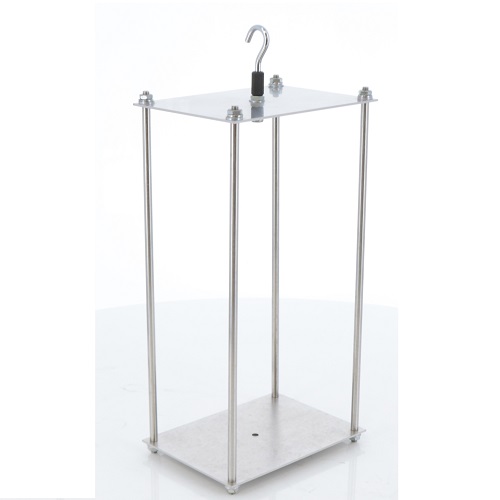
For this method, a force gauge is mounted on a calibration stand. The method involves hanging a calibration plate to the measuring shaft of the force gauge, and weights are added to check the values on the display. The calibration stand / calibration plates are made-to-order by IMADA, and it would be possible to practice with specialized in-house calibration, as shown in the video, for your information. *The standard weights are not available from IMADA.
2. Confirm Basic Operation and Appearance
The following items, other than the display values, are recommended for daily inspection.
- External appearance check: No unnatural dents or damage, no signs of tilt or distortion of and around the measuring shaft, etc.
- Basic operation check: screen display, response to button operations, etc.
Suppose any unusual signs or irregularities are identified, our advice is to stop using the measuring instrument immediately for safety and request repairment. For more information about daily inspection of force gauges, please request a document from the button below. Free 6-page PDF document available with “Daily inspection hints”, “the in-house calibration procedures with TFCU Series”, and “Points to help avoid failures and malfunctions”. *The document is the same as the one mentioned in point 1.
3. Storage
Please take note of the following points, especially if the product will not be used for an extended period:
- Store in the provided case: This is to prevent the sensor from being overloaded due to accidental drops or unintended contact.
- Keep in a location free from significant vibrations: For the same reasons as mentioned above.
- Temperature: 0-40℃, Humidity: 20-80% RH in a non-condensing environment: Adhering to these storage conditions will minimize the risk of malfunction.
Risks and Measures for Long-Term Inactivity:
- For digital products, there is a risk of not being able to use them due to over-discharge. To prevent this, please charge them periodically.
- We recommend calibration every year. Especially if the product has been stored without use for over a year, we strongly recommend sending it for calibration before use.
*Please note that the above precautions do not guarantee that the product will not malfunction.
Contact us
If you find any abnormability, or have any questions, please feel free to contact us.
Contact usConverter
Convenient Unit/Torque/
Tension conversion
6 Significant Digits (*Significant digits are meaningful digits that do not include zeros, which are used to indicate the scale.)
Products

HERE!
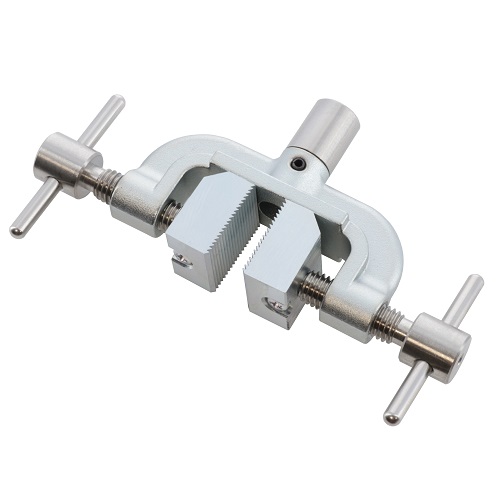 Attachments, Grips & Fixtures
 Custom Made
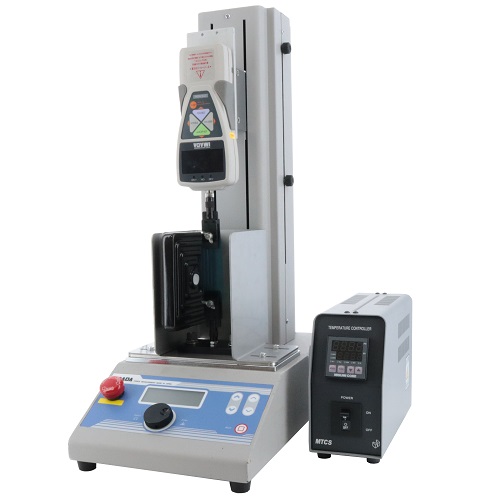 Measurements in Special Environment
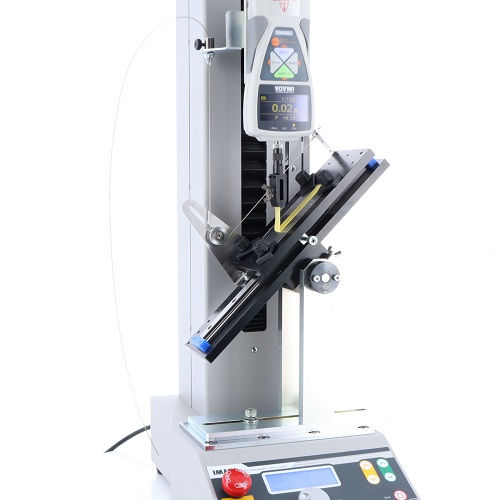 Temperature and Angle Adjustable Peel Tester
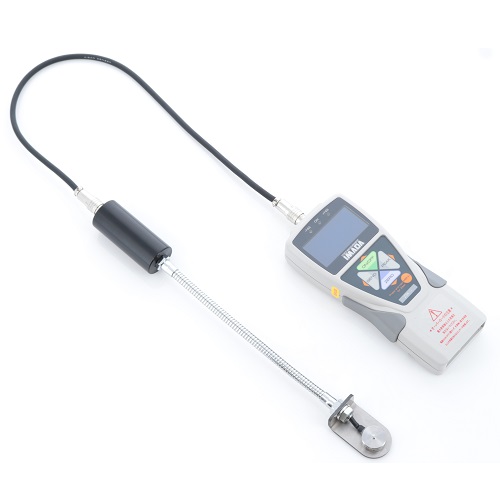 Spot Welding Pressure Gauge
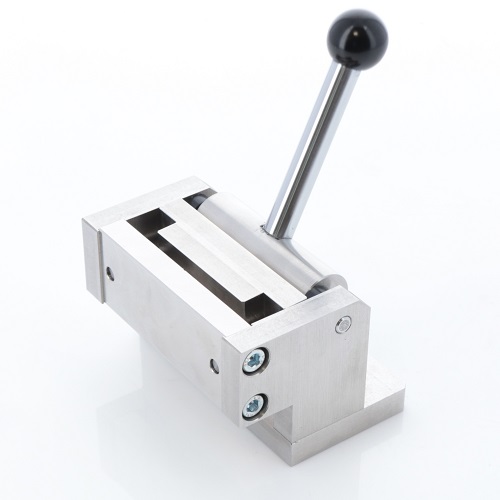 Attachment to Bend Sample 90 Degrees
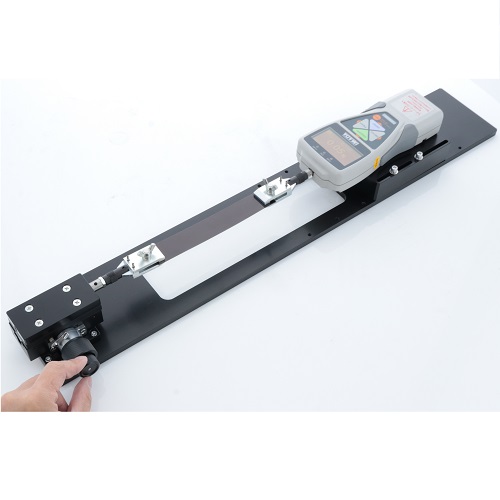 Horizontal Test Stand with Fine Adjustment Knob
 Tester With Thermostatic Chamber
 Tester With Far-infrared Heater
 Table for Compression Load Cell
 Test Stand for Testing at the Desired Position
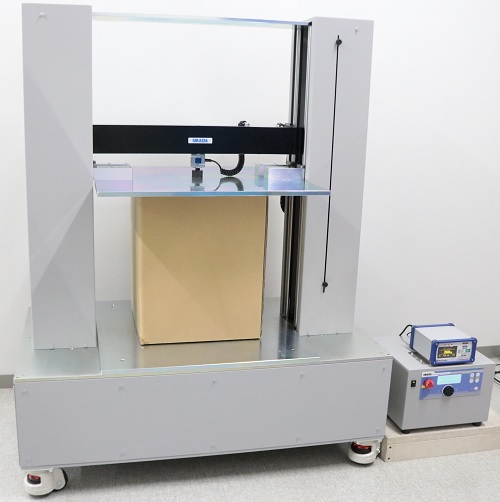 Particular Samples Measurements
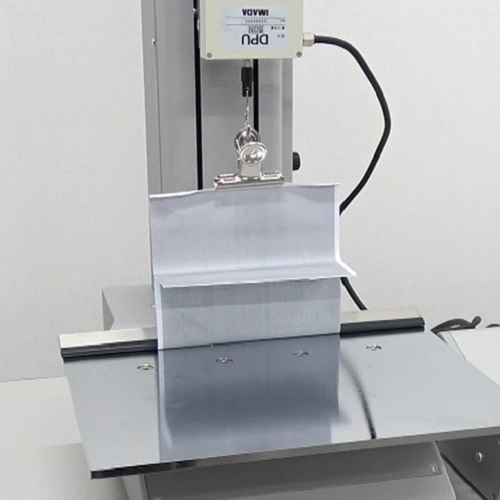 Peel Test Fixture for Crimped Postcard
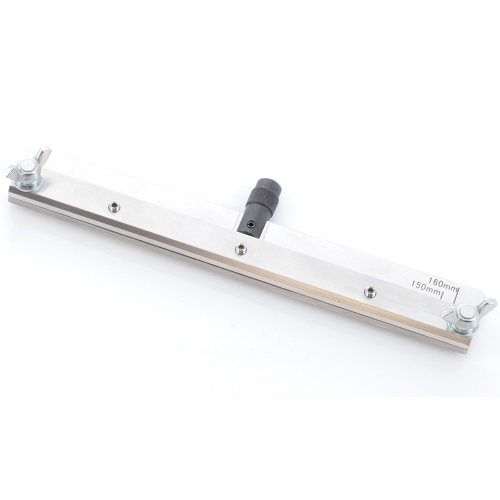 Attachment for Fixing Wide and Thin Materials
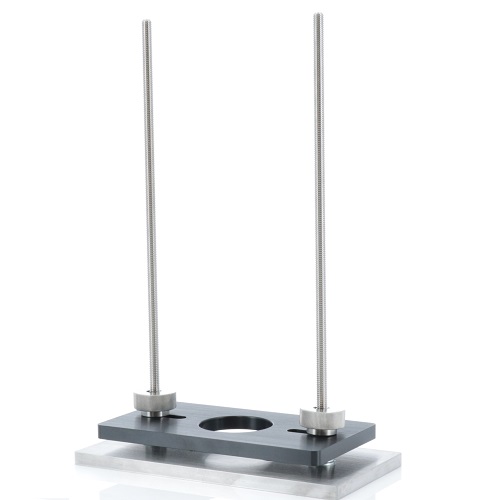 Attachment for Wine Cork Extraction Test
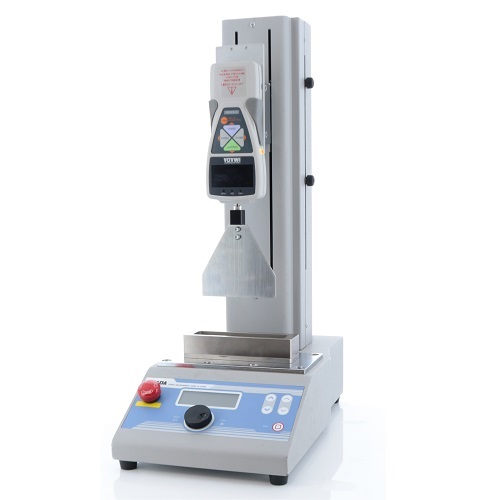 Attachments for 90 degree score bend test
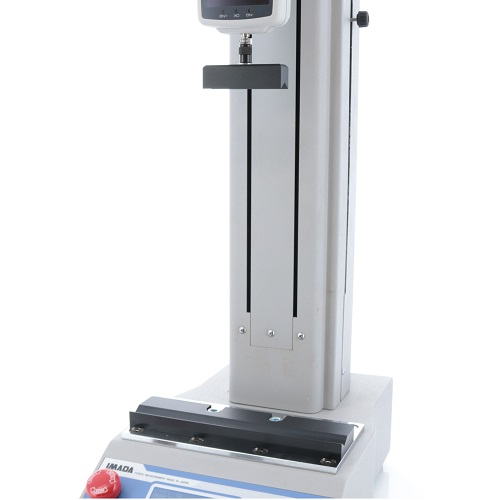 Attachments to measure forces to open flat pack carton
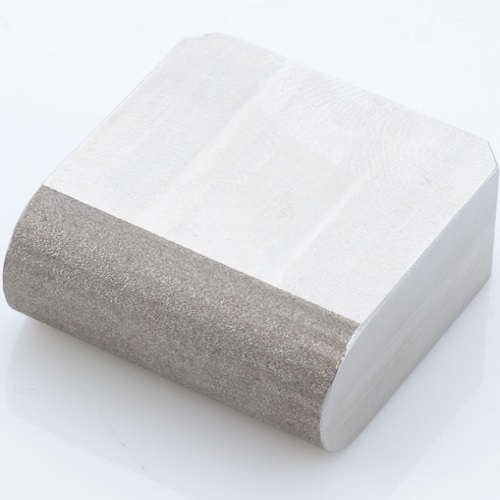 Attachments for break strength testing of lipsticks or lip balms
 High capacity dual-column motorized test machine for compression test
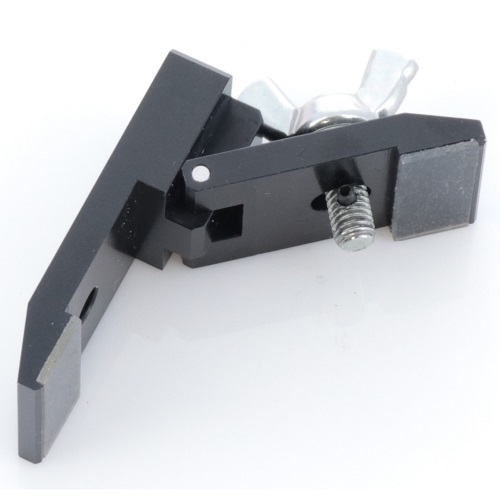 Film Grip with Openable Gripping Part
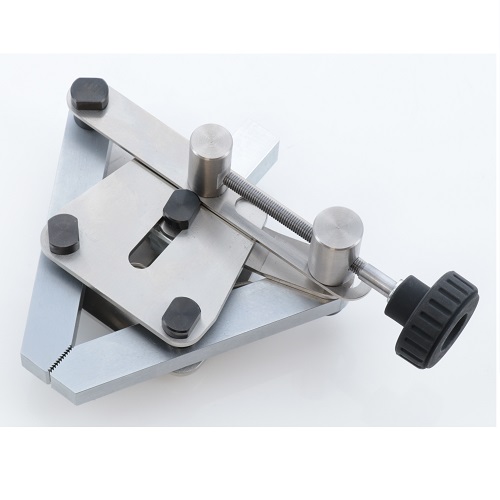 Pantograph Grip with Pressurization Mechanism
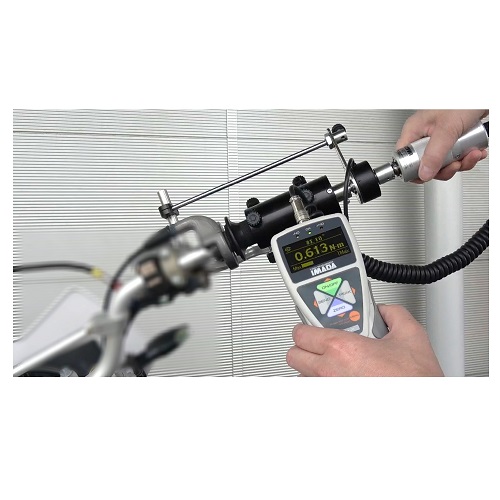 Motorcycle Accelerator Torque Test Fixture
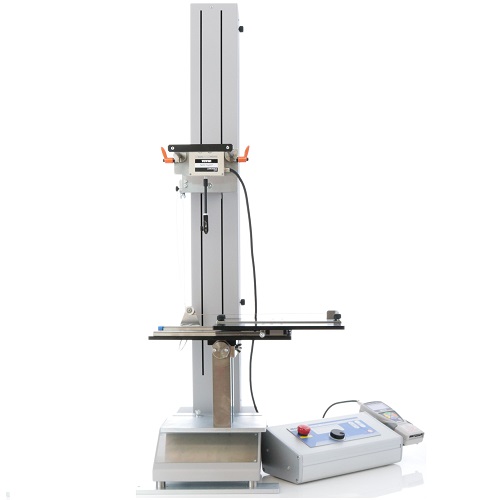 Peel Test Fixture for Solar Cell Ribbon
 Test Stand With Large Table
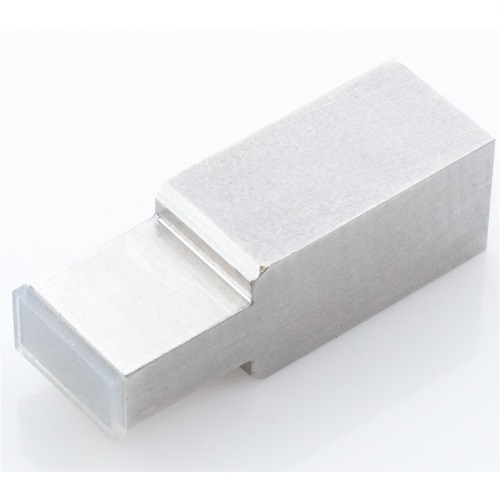 Compression Test Attachment for LCD Panel
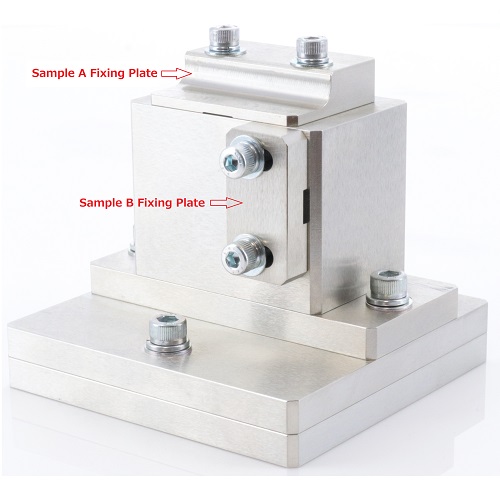 L-shaped Sample Fixture
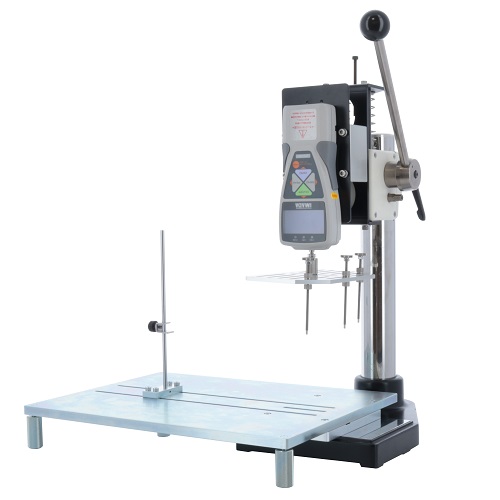 Attachment for Opening/Closing Force Test of Takeout Container Lid
 Attachment for Squeezing Force Test of Eye Drop Bottles
 Compression Test Attachment for Squeeze Tube
 Attachment for Welded Nut Tension Test
 Attachment for Tube Tension Strength Test
 Attachment for Hard-to-Grip Samples
 Attachment for Compression Test of Nasal Spray
 Individually Adjustable Torque Chuck Attachment
 Resistance Force Measurement jig for Hair Combing Test
 Attachment for Lateral Compression Test of Cup Containers
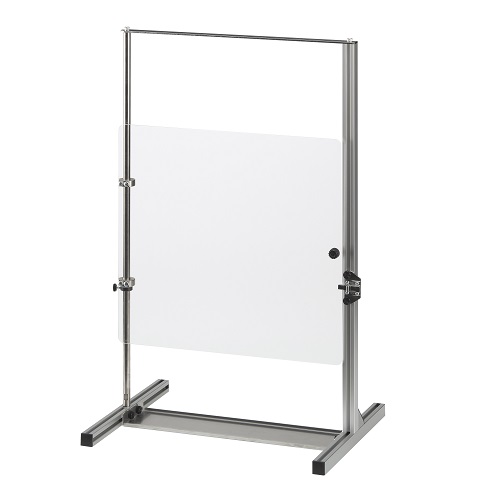
 Water-Proof Shield for Motorized Torque Test Stand
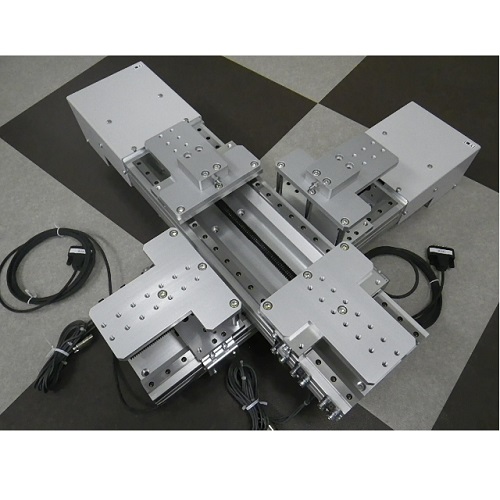 Biaxial Tension Tester
 Resize & Modification
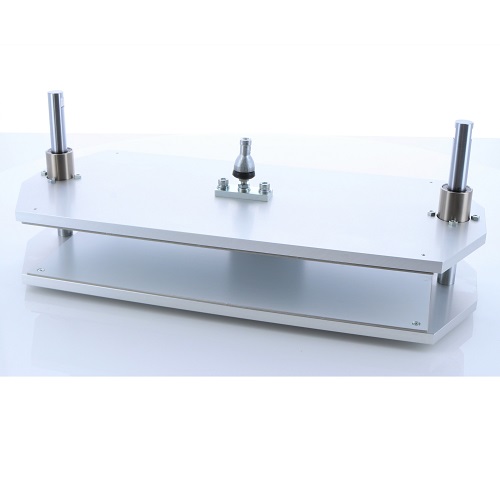 Press Test Fixture (Wide Size)
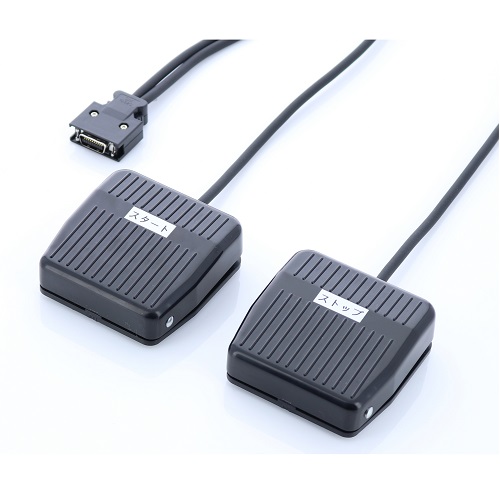 Remote Control Switch for Motorized Test Stand
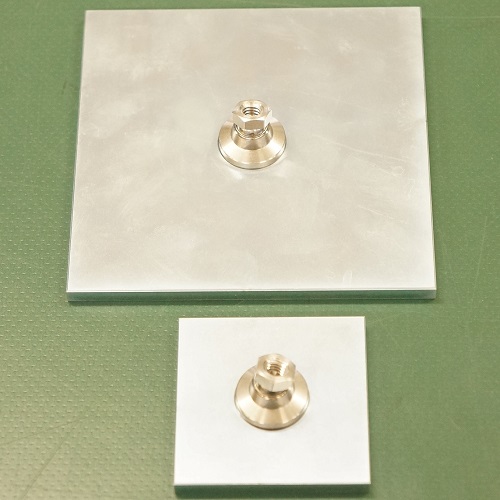 Semi-Customized Compression Attachments
 Large Size of Compression Tester
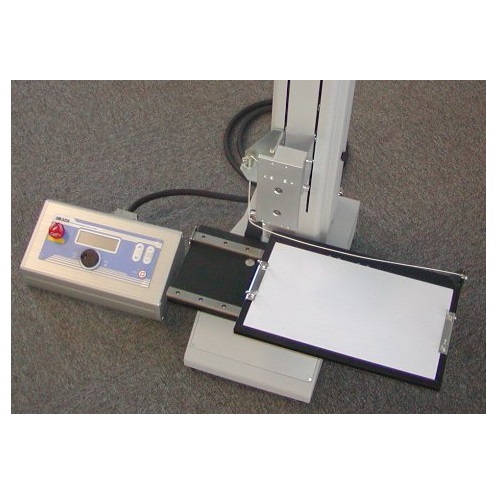 Large Size of 90 Degree Peel Tester
 Force Control Cable with Signal Output Box
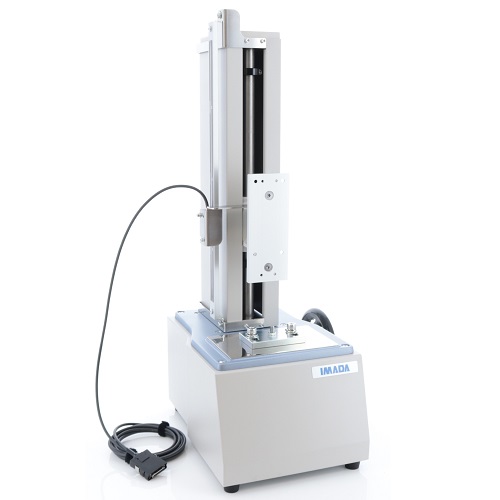 Manual Test Stand with Displacement Output Option
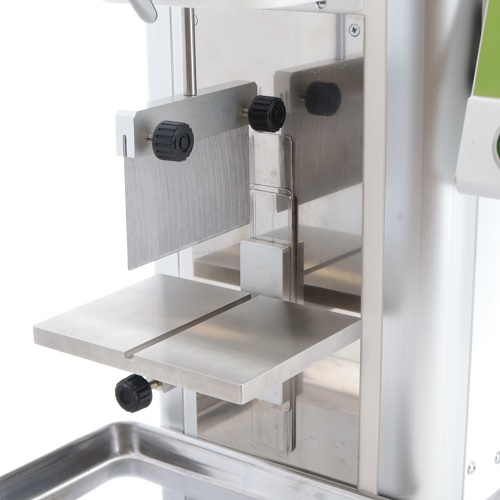 Cutting Base Plate with groove and knife edge probe
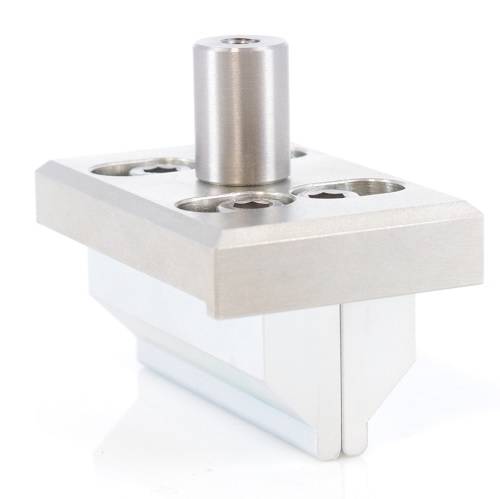 Upper attachment for 4-point bending test
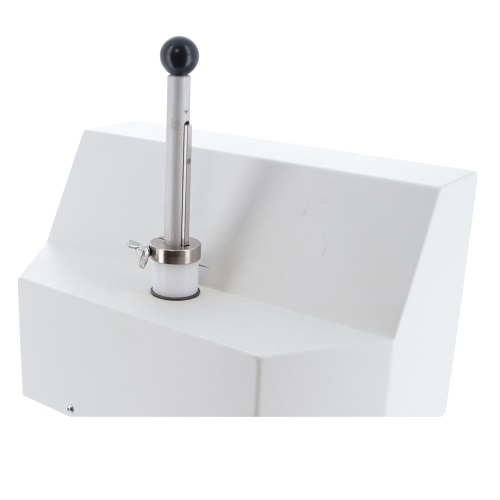 Main shaft stopper with a butterfly screw for MTS series
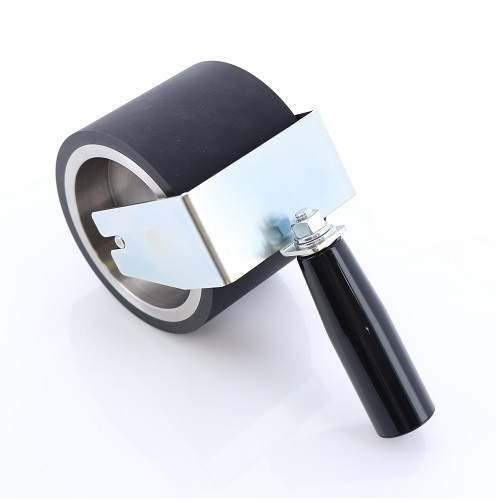 Wide Rubber Roller for Peel Test
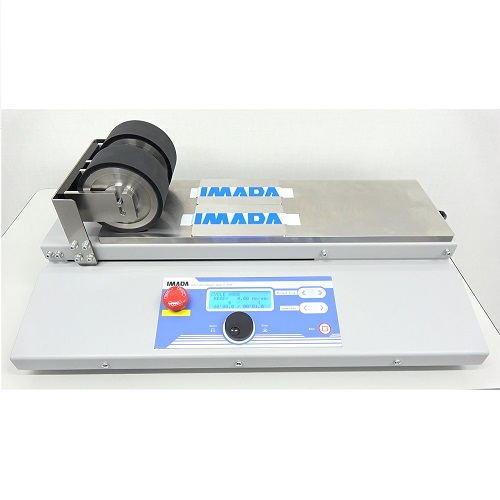 Motorized Rubber Roller for Peel Test
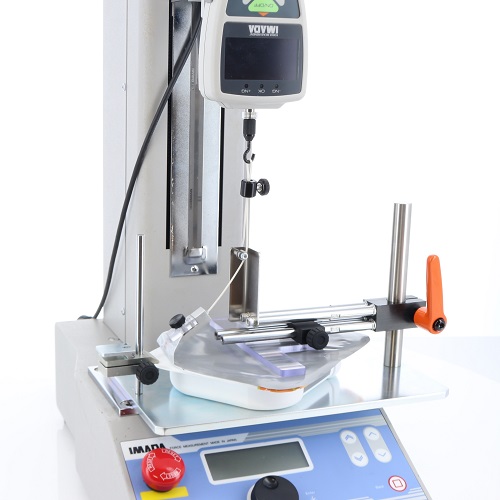 Peel Fixture for Packaged Cooked Rice Lid
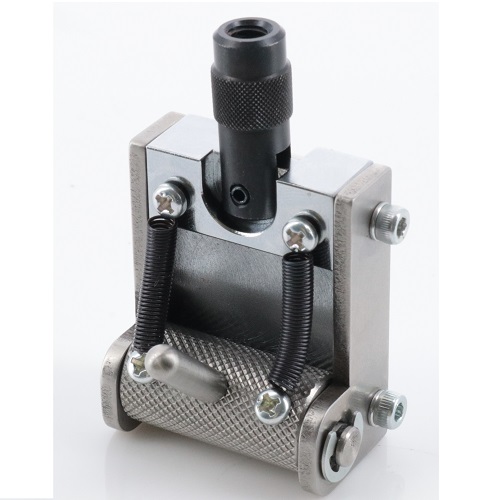 Cam grip with spring
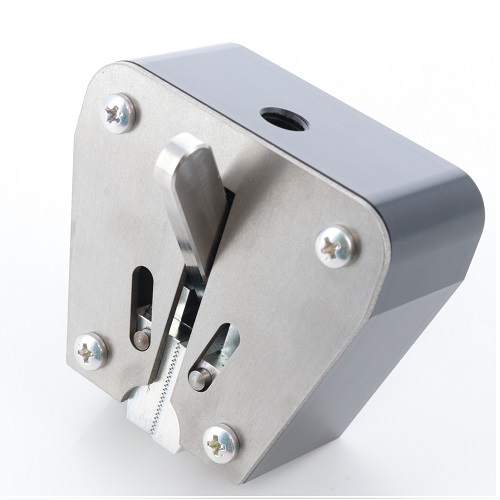 Wedge Grip Without Adaptor
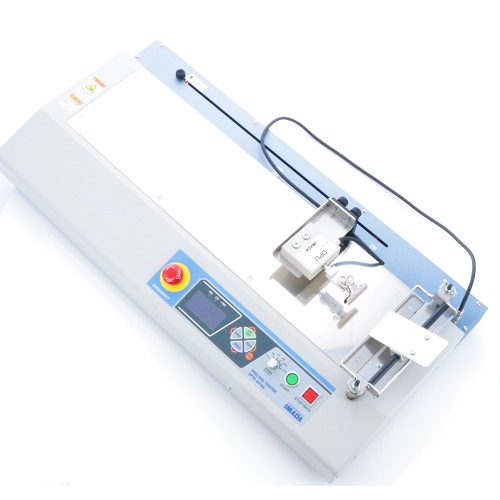 Customized Peeling Tester
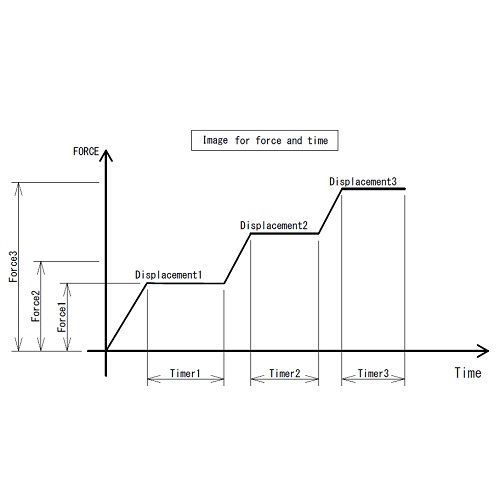 Test Stand with 3-stage Force/Displacement setting/holding function
 Torque Stand Shaft for Child Proof Lock Measurement
 90 degree Peel Test Jig (High Capacity Type)
 Tabletop Force Gauge Calibration Unit (High Capacity Type)
 One-touch toggle clamp for Coefficient of Friction Fixture
 Compact Motorized Test Stand
 Tube Fixing Jig
 Visualized Film Chuck
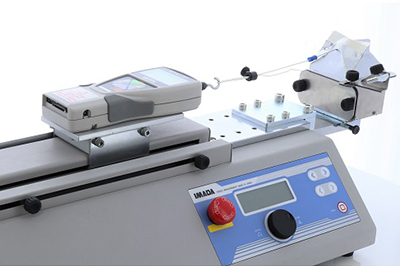 Standards-Compliant Measurement
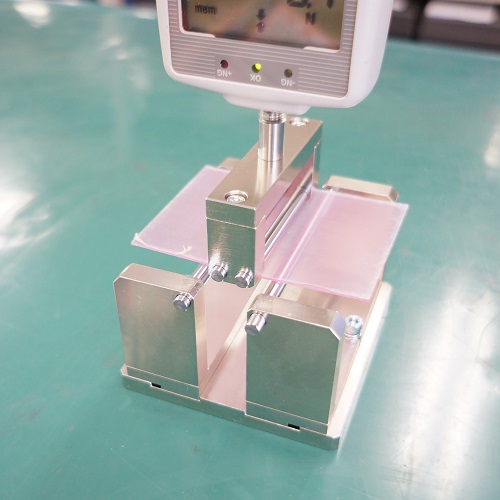 ISO 14704: 2000 Fine Ceramics 4-Point Bend Tester
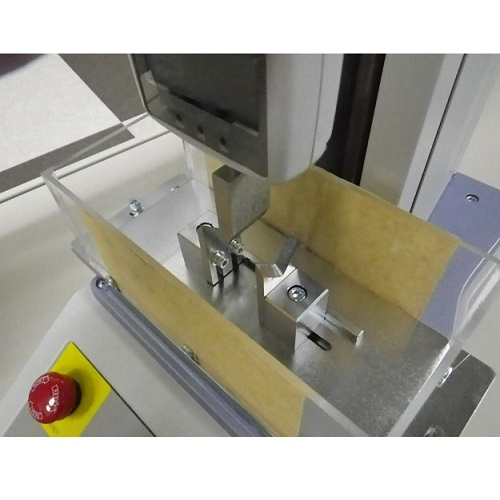 Ampoule 3-Point Bend Tester
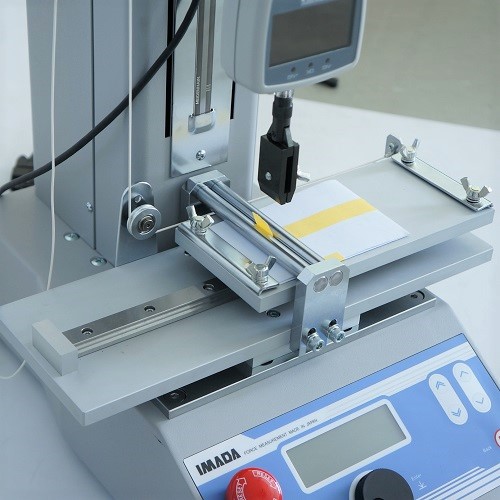 ISO/IEC 10373-1: 2006 Peel Tester of Identification Card
 ISO 17480: 2015 Peel Tester for Gable-Top Package
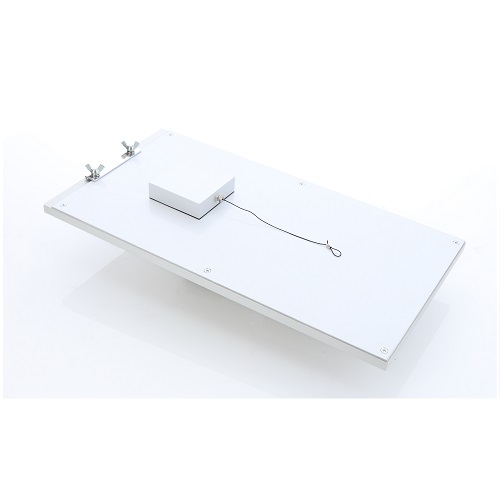 ASTM D1894: 2014 Coefficient of Friction (COF) Tester
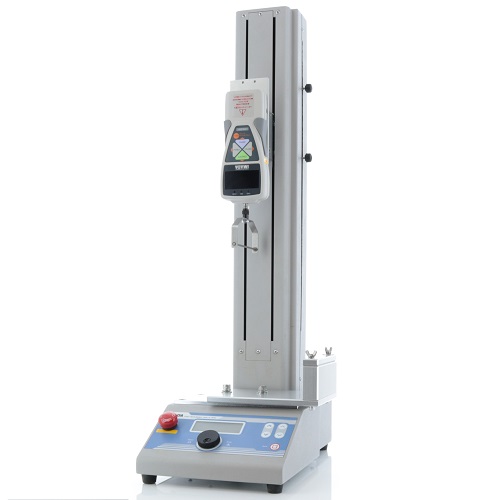 Attachments for score bend test
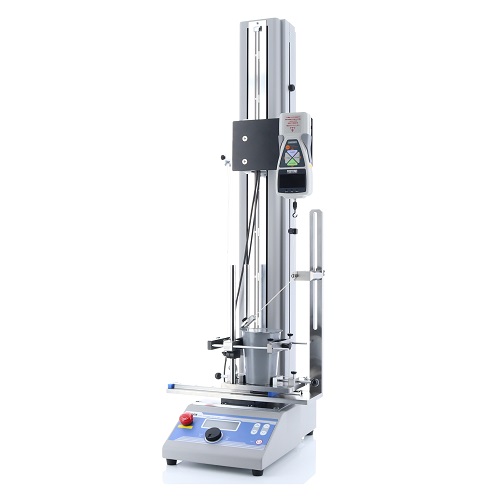 ISO 17480: 2015 45 Degree Complete Peel Test Fixture for Container Lid
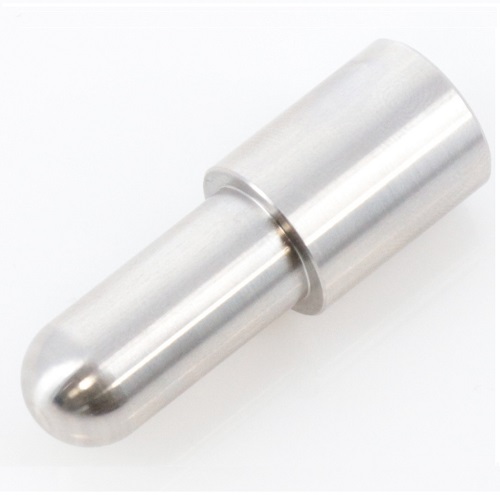 IEC 61010-1 (2010) Spherical Jig for Compression Testing
 ASTM D4032(Withdrawn 2025)Standard Test Attachment for Fabric Stiffness by Circular Bend Procedure
 Peel Test Jig for Gable-Topped Package (No sample cut type)


